The Perfect Gluten-Free Sourdough Bread Recipe for Beginners

The Perfect Gluten-Free Sourdough Bread Recipe for Beginners
We all deserve good bread!
Ahhh, sourdough bread! Have you started making your own gluten-free sourdough bread yet?
My journey with baking sourdough bread goes back to my childhood. I grew up in the countryside of Germany and real sourdough bread, made from only water, grains, and salt was the everyday bread we ate.
After my move to the US in my early twenties, I started baking regular sourdough bread made of wheat and rye at home as I missed real, good bread. Back then, finding stores or bakeries that carried good sourdough bread was challenging.
Everything changed when I was no longer able to tolerate gluten.
Disappointed with the available gluten-free bread, I stopped eating bread for years. But I really, REALLY missed bread!
A few years ago I got inspired to dive back into bread baking. This time the challenge was to figure out how to make sourdough bread gluten-free. I put my research scientist hat on and set out to recreate the sourdough bread I remembered so fondly from childhood. However, it needed to be in gluten-free form.
Let’s be honest… We all need and want delicious gluten-free bread that is as close to wheat bread as possible. We all need bread that is healthy and good for our gut. Gluten-free sourdough bread gives us all of this and more.
When I started to share the gluten-free version of my childhood bread with others, the response was exhilarating.
So many people loved this bread and told me it was the best gluten-free bread they ever ate. People begged me to share the recipe and teach them how to make it.
Everyone deserves a slice of bread that is healing, nourishing and delicious.
This is why I am setting this gluten-free sourdough bread recipe free for you to enjoy, too. If you’re looking for more recipes like cranberry walnut, focaccia, light, and fluffy sandwich bread, or even pizza I have so much more to offer in The Gluten-free Sourdough Lab. For now, I want to share this recipe for all who miss really good bread like I did.
The recipe below gives you a simple, gluten-free sourdough bread that's delicious and easy to make. It’s the perfect loaf to start your gluten-free sourdough journey. The recipe gives you a foundational loaf that works well with add-ins like sunflower, caraway, or fennel seeds. It even tastes great with chive blossoms (see image below). Give this recipe a try and let me know how you like it.
Gluten-free sourdough baking opens up the doors to endless possibilities.
The best thing to do is to learn the characteristics of your starter and lean into the unique process of gluten-free sourdough baking. Then you can branch out to making pizza, rolls, cookies, and more.
How to make a delicious gluten-free sourdough bread
Prep time: about 30 minutes (plus 5 to 6 hours of fermentation time, depending on your room temperature)
Cook time: about 60 minutes
Yield: 1 boule
Ingredients:
100 g active gluten-free sourdough starter at room temperature
100 g sorghum flour
90 g millet flour
100 g potato starch
100 g tapioca starch
30 g potato flour (or ground potato flakes, not potato starch)
12 g xanthan gum OR 25 g psyllium husk powder
10 g salt
20 g raw sugar
20 g extra-virgin olive oil
410 g filtered water
Directions:
Make sure the starter is fed, active, and at room temperature! (See my notes on gluten-free starters below.) If you don’t have a starter, click here!
In the bowl of your stand mixer combine your different flours, starches, psyllium husk powder or xanthan gum, sugar, and salt.
Add the olive oil, sourdough starter, and water and mix well on low for about 5 to 10 minutes until the dough is silky smooth.
Dust about 12 inches of the center of a dish towel with sorghum or brown rice flour and place the dough in the center.
Gently shape the dough into a ball using a silicone spatula. Don’t worry if your dough is sticky.
Gathering the 4 corners of your dish towel, lift the dough into the medium bowl.
Cover the bowl with plastic wrap or place the bowl into a large plastic bag. Your bread will take on the shape of your bowl.
Let your dough rise for 5 to 6 hrs at room temperature or up to 3 hrs in your oven with the oven light on. (Don’t heat up your oven!)
Remove your dough from the oven 30 min before the end of the rise time and preheat your oven to 475F with your Dutch oven inside.
After the dough has nearly doubled, remove the bowl from your plastic bag, uncover the dough, and place a large piece of parchment paper over the dough.
Placing your hand on the parchment paper, gently invert your bowl and slide the dough and parchment paper onto your work surface.
Score the dough about half an inch deep with a sharp knife, lame, or razor blade across the top to allow your dough to expand and steam to escape.
Remove the preheated Dutch oven from your oven and carefully place the dough with the parchment paper into the Dutch oven. Cover with lid.
Bake for 30 minutes with the lid on.
Remove the lid from the Dutch oven, reduce the oven temperature to 450F, and continue to bake the dough until the crust is brown and the bread sounds hollow when tapped. It will reach an internal temperature of 210F.
Transfer the bread to a wire rack and let it cool completely before cutting to allow the crumb to set and prevent gumminess. If you cut your bread too early, the air pockets will collapse and stick together.
This bread will last for several days in an airtight container in a cool environment (not refrigerated) or can be frozen.
Inclusion Suggestions:
Add 100g of shelled sunflower seeds while mixing the dough. Sprinkle the top with extra sunflower seeds before scoring. This creates delicious sunflower bread. You can also flavor this bread with herbs and spices like the chive blossom sourdough bread below.
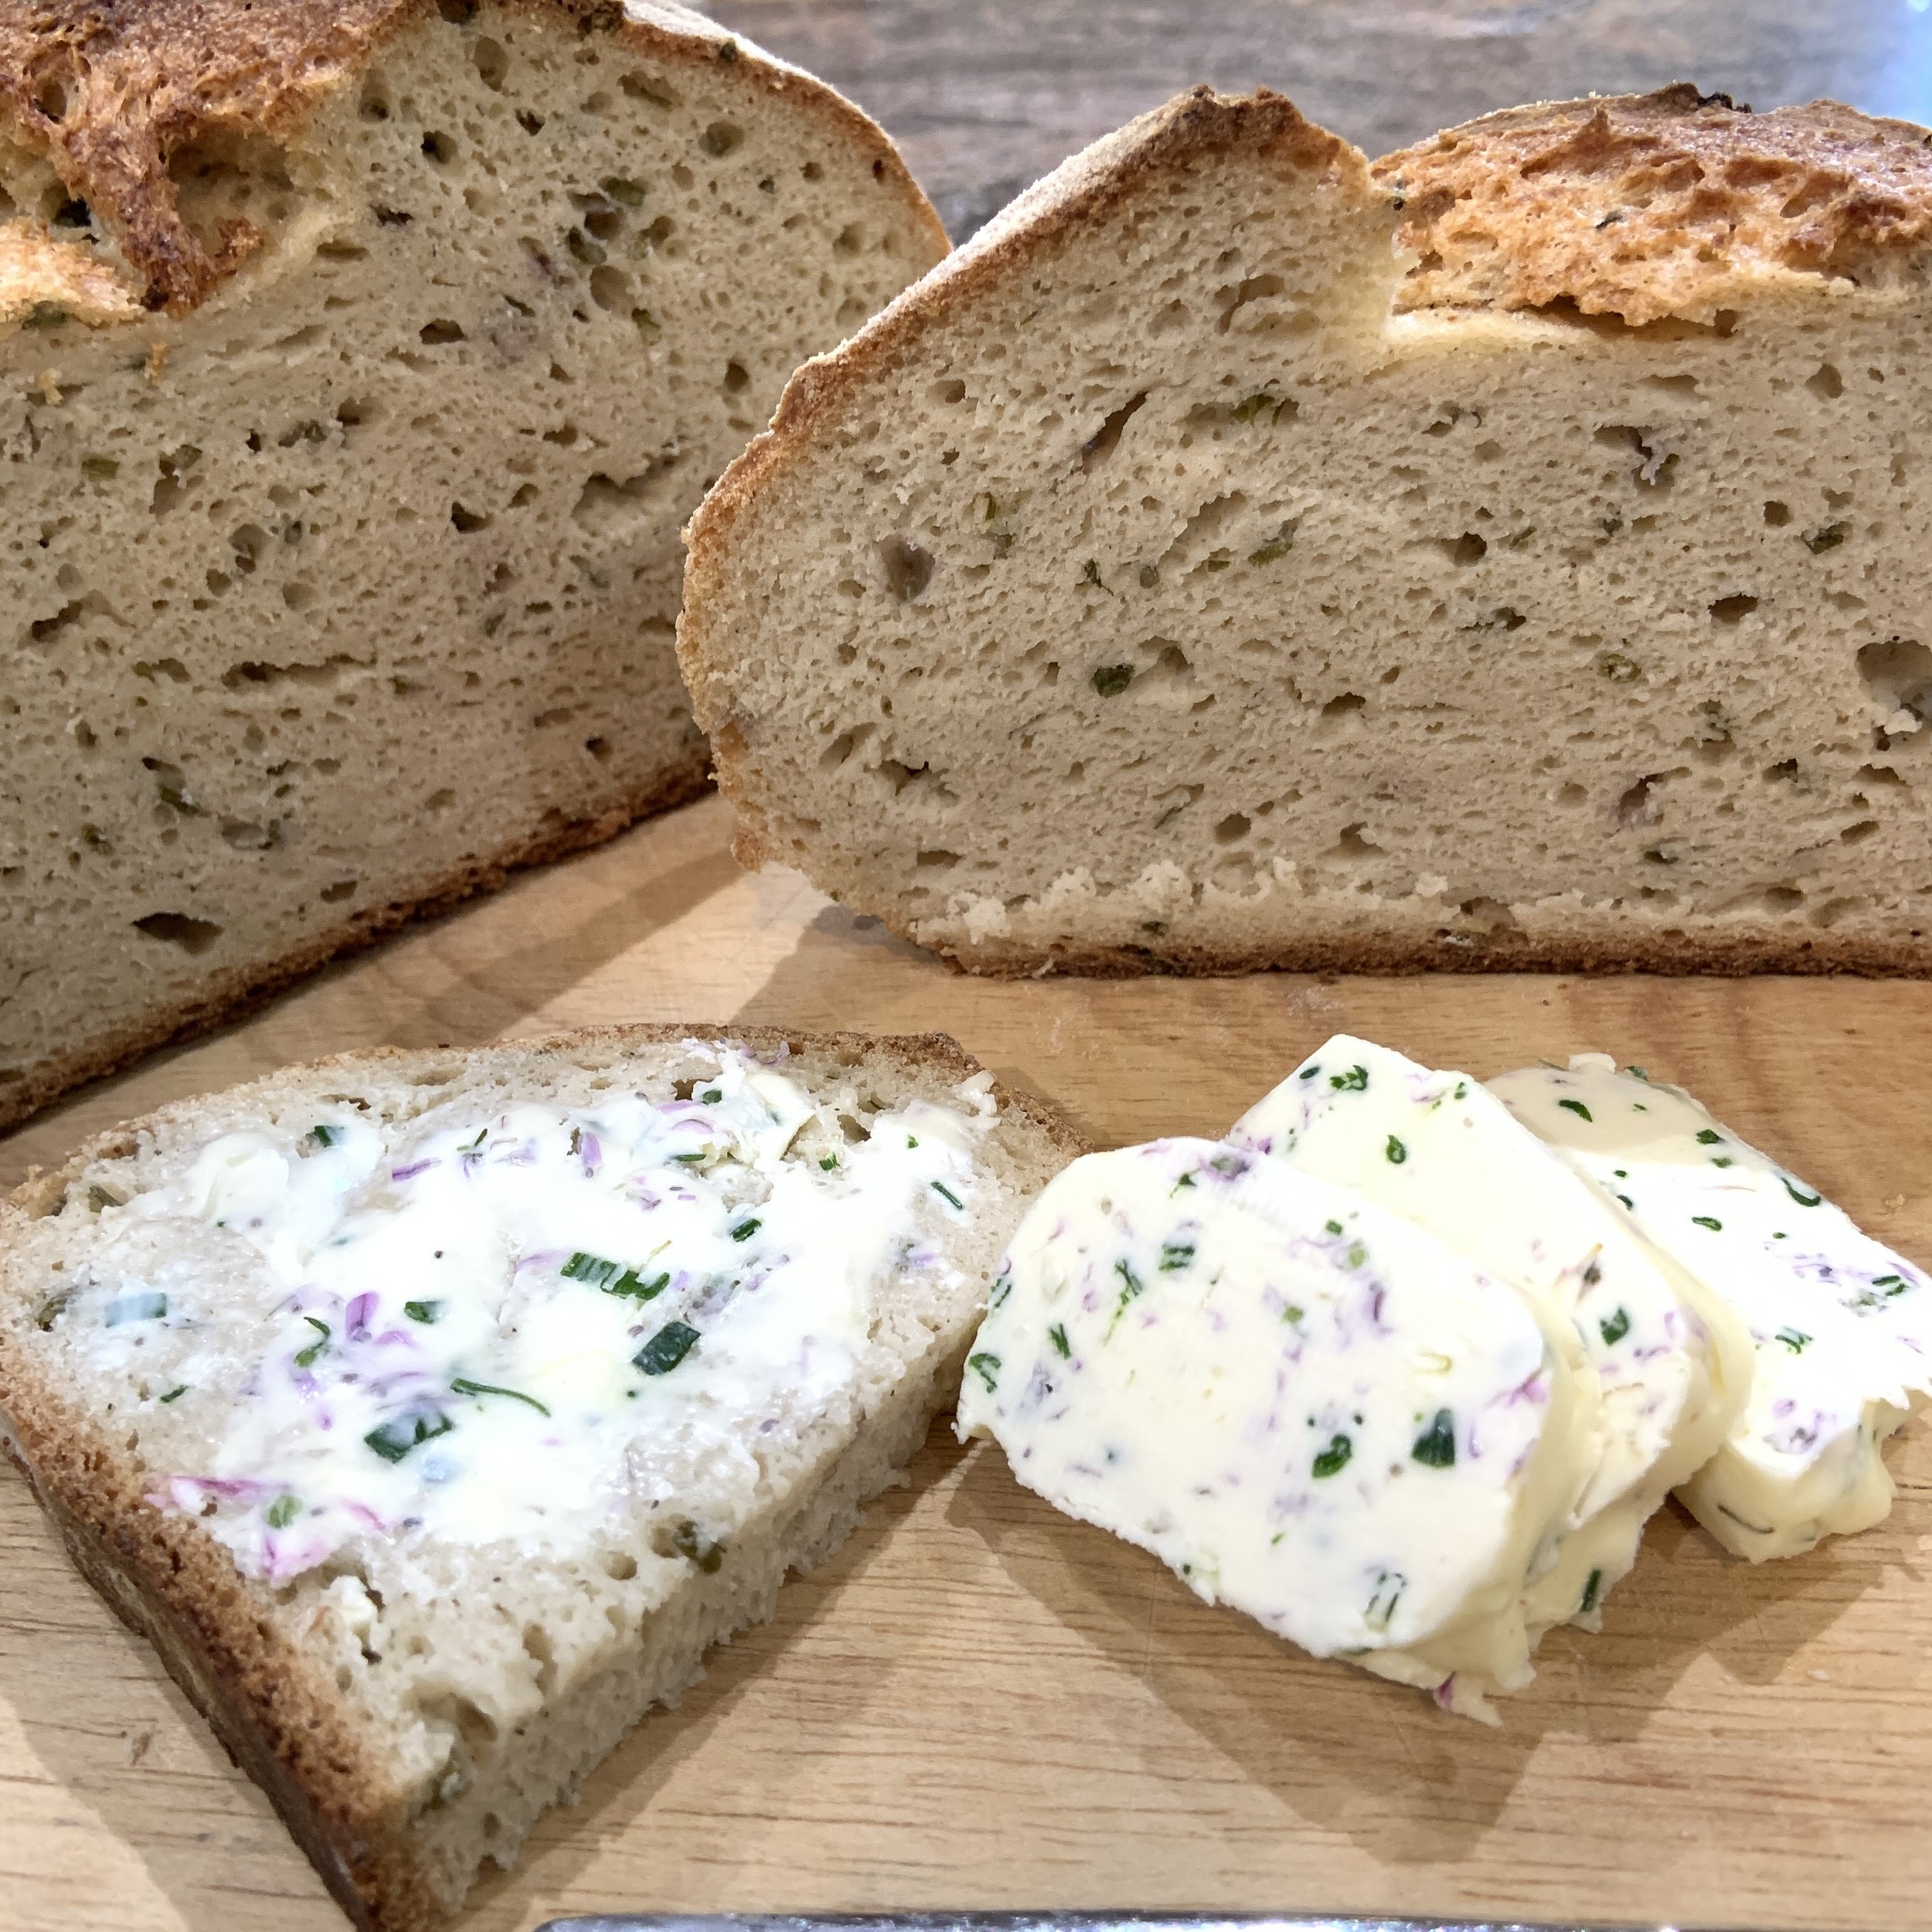
Beginner gluten-free sourdough bread with chive blossoms and chive compound butter
Notes on the ingredients
Gluten-free sourdough starter
I prefer to use a mature and strong sourdough starter made from brown rice. Before you start baking, activate your starter by feeding it 6 to 12 hours before you plan to prepare your dough. After you feed your sourdough starter, it should be kept at room temperature and used when it has fully risen.
Wondering how to make a gluten-free sourdough starter? You can find my preferred method of creating a gluten-free sourdough starter here.

Sorghum flour
Sorghum is an ancient grain with a slightly sweet taste. It adds a smooth and pleasant texture to your baked goods and is easily digested.
Millet flour
Millet flour is naturally alkaline and easy to digest which is great for individuals with digestive issues. Because it acts as a prebiotic, it supports the development of healthy gut flora.
Potato starch
Potato starch creates a soft and tender crumb and adds moisture and a silky mouthfeel to baked goods.
Tapioca starch
Tapioca starch is sometimes called Tapioca flour. It helps to bind baked goods and adds crispness.
Potato flour
Potato flour adds moisture to your bread, helps bind the different ingredients and keeps your bread fresh longer. It is ground from dried, whole potatoes and is different from potato starch.
Xanthan gum
Xanthan gum is a thickener, stabilizer, and emulsifier. Most xantham gum is derived from corn. People with a sensitivity to corn may not tolerate it well. It adds elasticity and binds gluten-free flour.
Psyllium husk powder
Psyllium husk is a stabilizer and binding agent. It creates a dense network that simulates gluten strands. If you don’t have psyllium husk powder, you can grind the psyllium husk into a powder using a high speed blender or spice grinder. Alternatively, you can use 20% more psyllium husk by weight than psyllium husk powder. Some people with digestive issues, such as Sibo, may not tolerate psyllium husk well.
Water
Please use filtered or bottled water unless you have access to well water that is not chemically treated. The chemicals used to treat municipal water will kill the microbes in your starter.
Equipment for a successful sourdough bread baking experience
Kitchen scale
Gluten-free baking is more challenging than baking with wheat flour. To ensure consistent results I highly recommend using a digital kitchen scale.
Stand mixer
While all my bread recipes can be mixed by hand, a stand mixer creates a beautiful silky dough. If you plan on baking gluten-free sourdough bread regularly you may want to invest in a stand mixer with a dough hook.
Dutch oven
I bake most of my gluten-free sourdough bread in a 5.5-quart Dutch oven. It gives the bread a beautiful crust and oven spring (rise). In a pinch, you can bake your bread in a stainless steel pot with a tight-fitting lid. Make sure your pot doesn’t have plastic handles.
Tips for baking a winning gluten-free sourdough bread
If you are new to gluten-free sourdough baking, I highly recommend following the recipe exactly. Once you are familiar with the characteristics of your starter and dough you can make modifications.
Each brand of flour is different in the way it’s milled and how well it absorbs water. I use primarily Anthony’s or Arrowhead Mills for my baking.
Invest in a digital instant-read thermometer. Your bread is fully baked when it reaches an internal temperature of 210F.
Let your bread completely cool before you slice it. The gluten-free structure will set further as your bread cools down. Otherwise, your structure will collapse and you end up with gummy bread.
Need a Starter?
Creating a vibrant gluten-free sourdough starter can be intimidating and scary. However, it is easier than you think.
In the GF Sourdough Starter course, I will show you how to make a strong and active gluten-free sourdough starter. You will find daily step-by-step instructions, videos and other valuable tips to create a strong and viable gluten-free starter.
You even get a downloadable tools and ingredients list as well as a daily printable guide. Plus you will have my personal support and the support of a whole community to help you along when questions come up. How cool is that?
Already have a starter, but still want support?
Working with gluten-free sourdough can be tricky. Elements like humidity, temperature, and ingredients can vary your outcome. It takes time to learn what to do and what to look out for. And… there is so much more you can do with a gluten-free sourdough starter than bake bread. Check out our amazing online community and course membership to learn how to successfully make different kinds of GF sourdough breads, bagels, pizza, rolls, cakes, cookies… the list goes on.
Join me on this gluten-free sourdough path and let me know how you like it!
Choosing a variety of healthy ingredients in your diet is an important part of a healthy lifestyle (see disclaimer).